How to Install a Minn Kota PowerDrive i-Pilot Trolling Motor
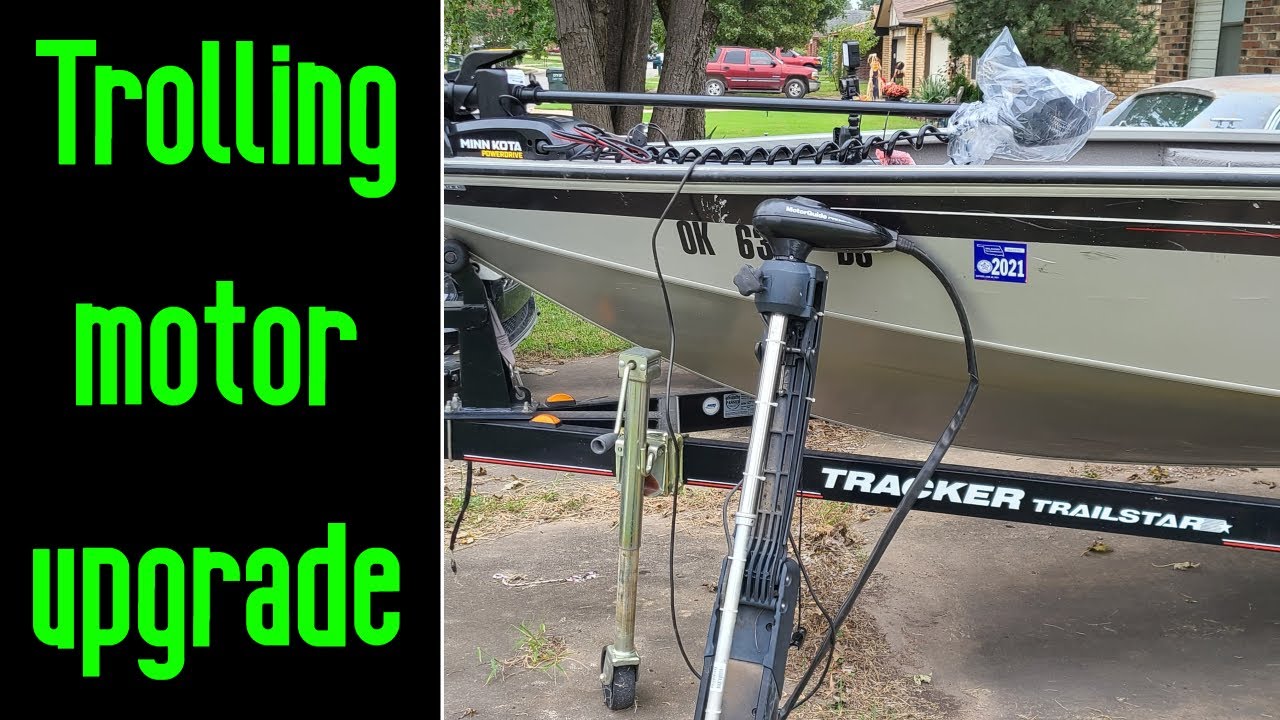
Upgrading a boat to a Minn Kota PowerDrive with i-Pilot can make boat control much easier, but mounting a new trolling motor is not always as simple as swapping one set of holes for another. In this installation, we replaced an older MotorGuide trolling motor on a Tracker V-18 with a Minn Kota PowerDrive i-Pilot and ran into several real-world mounting challenges along the way.
Before You Start
Check the exact model, shaft length, voltage and mounting requirements for your trolling motor before drilling anything. Minn Kota’s current PowerDrive documentation shows that model specifications and available features vary by version, and the company recommends using the owner’s manual and installation guide for the exact motor being installed.
1. Remove the Old Trolling Motor
Start by disconnecting power and removing the hardware holding the old trolling motor to the bow. On our Tracker V-18, access to the underside was limited, which made the removal more difficult than expected. Some of the original mounting hardware was also damaged, so we had to carefully work around the existing deck and mounting plate.
This is a good time to inspect the deck, backing material and existing holes. If the old motor had loosened or pulled against the deck, repair or reinforce the mounting area before installing the replacement.
2. Test-Fit the Minn Kota
Do not drill your new holes immediately. Set the PowerDrive in position first and check how far the motor extends over the bow when deployed and stowed. The mounting footprint can be different from the trolling motor you are replacing, and the motor may need to sit farther forward than you expect.
On our boat, the new motor had a longer shaft and a different mounting position than the old MotorGuide. We had to carefully choose a combination of existing deck and aluminum mounting locations that would provide a solid installation without putting the hardware somewhere we could not reach from underneath.
3. Mark and Drill the Mounting Holes
Once the position is confirmed, mark the mounting holes while the motor is held securely in place. Then move the motor out of the way and drill the holes using the correct bit for the deck material.
We found that drilling through the boat’s aluminum deck was much easier with a hammer drill. The important part is taking your time and getting clean holes in the correct locations. Measure twice before drilling because shifting a heavy trolling motor around to correct a bad hole is a pain.
4. Secure the Motor
With the holes drilled, put the motor back into position and install the supplied mounting hardware. This is where limited access underneath the bow can become the biggest challenge. Make sure you can get washers and nuts fully seated before tightening everything down.
Do not rely on a couple of easy-to-reach fasteners. A trolling motor takes a lot of force when steering, accelerating and fighting wind or current. Every mounting point that the installation guide calls for needs to be properly secured.
5. Plan the Electrical Side Separately
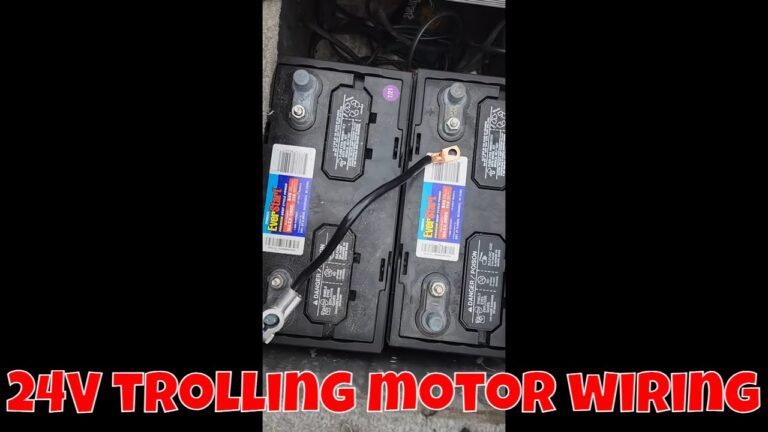
Our old trolling motor was a 12-volt system, while the replacement required a 24-volt setup. That means the battery and wiring arrangement has to be addressed separately from the physical motor installation.
Use the wiring diagram and electrical requirements for your exact motor rather than assuming the old wiring can simply be reused. Minn Kota’s installation resources cover battery connections, conductor sizing, circuit protection and 12-, 24- and 36-volt systems.
6. Check Everything Before Launching
- Verify every mounting fastener is tight.
- Make sure the motor clears the bow when stowed and deployed.
- Confirm the propeller has adequate clearance.
- Verify the battery voltage and wiring match the motor requirements.
- Install the required circuit protection.
- Test steering and propeller operation before heading out.
What We Learned
The biggest lesson from this installation was to plan around access, not just the mounting holes. A location that looks perfect from the top of the boat can be nearly impossible to reach from underneath. Test-fit the motor, check the shaft clearance, figure out how you will install the washers and nuts, and only then drill.
For current PowerDrive and i-Pilot models, always verify compatibility and installation requirements against Minn Kota’s latest documentation. The company’s current support information lists PowerDrive as an i-Pilot-compatible platform, but compatibility varies by model and generation.
Watch the Installation
Note: This article documents our installation experience on a specific boat. Your boat, trolling motor model, mounting hardware and electrical system may be different. Follow the manufacturer’s instructions for your exact equipment and use appropriate safety precautions when drilling or working around electrical systems.